Now that the weather is turning cold again and the days seem to vanish into darkness, we’re breaking out all of our “dark days” cooking techniques.
Given the fact that there is a months-long window where the majority of local produce available is of the root vegetable / storage vegetable variety, we come to rely more and more on roasting as the seasons progress. Luckily, roasted vegetables are delicious when done right. They can be made as a side or as a meal.
To be honest, we have dearly missed having roasted vegetables for the past 6 months. During the warmer months, at roasting temperatures our oven tends to heat our apartment to the point where it’s uncomfortable, and in the summer time it’s downright unbearable. So now, while we have to say goodbye to fresh tomatoes and peppers and other summer vegetables, which we will miss, at least we can fire up our roasting pans again.
That is the nice thing about seasonal cooking. As ingredients and recipes come and go, you begin to look forward to those that are on their way back in. People ask: ”You cook seasonally? Don’t you miss [X ingredient] when you can’t get it locally?” I do. However, it’s (more than) offset by the added appreciation and anticipation that comes as a result of eating this way. What’s more, once you get local, seasonal, vine-ripened heirloom tomatoes, the rubber balls that they sell at the grocery store in February just don’t hold a candle. That might technically be a tomato, but it was (in this order) bred to:
- Look exactly the same as all the other tomatoes they sell
- Be durable, in order to minimize loss from damage, by having a thicker outer layer to survive being shipped from California or Argentina or wherever
- Have a long shelf-life once it reaches the stores, and this involves being picked green and sprayed with a ripening agent after the fact, see: http://www.catalyticgenerators.com/whatisethylene.html (and that is the company’s PROMOTIONAL material)
- Taste good
From the eater’s perspective, that’s a lousy ranking of priorities (and nutritional value doesn’t even make the list). The truth is that once you start eating locally, you become addicted to the quality, and that makes you want to eat seasonally and just wait for that local tomato to come back around again.
What was I talking about? Right – roasting vegetables. Enough jibber-jabber. Onto the technique!
The best thing about this technique is that the list of vegetables that you can use is long and you can mix it up, although we recommend using at least three different vegetables at any one time in order to keep the dish from being monotonous.
- Potatoes
- Sweet Potatoes
- Yams (not the same thing!)
- Carrots
- Broccoli
- Celeriac
- Just about anything that grows underground and is available in the middle of winter
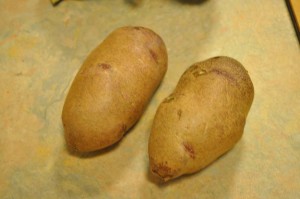
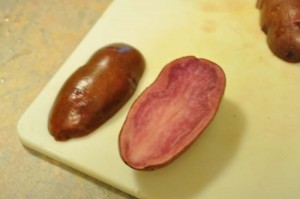
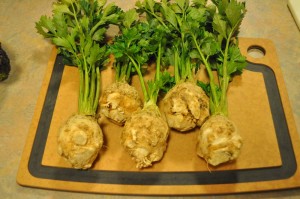
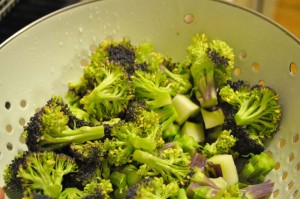
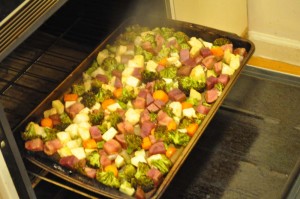
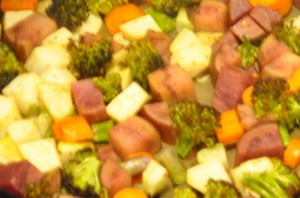
We also try to use a mix of colors because, well, it looks nice. In the pictures that I have included, we roasted purple broccoli, purple potatoes, celeriac, and carrots (although I forgot to photo the carrots):
Roasting Procedure:
- Adjust your oven rack so that it is in the middle of you oven, height-wise. Preheat the oven to 450 degrees.
- Wash vegetables, and peel if necessary or desired.
- Chop all of the root vegetables into equally-sized cubes. I usually aim for 1/2 inch to 1 inch pieces. The important thing is to be consistent. All the pieces should be the same size so that they cook evenly. Smaller pieces will cook more quickly and get more thoroughly crisp, while larger pieces will let you get nicely brown exteriors with softer insides for a nice contrast.
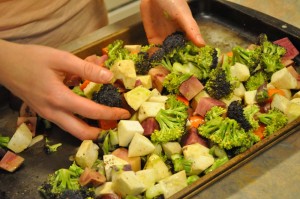
- Use a large rectangular pan (we recommend one with tall sides so you don’t have to be as careful when stirring – see the picture below). The vegetables should spread out as a single layer. If you have them piled too much on top of one another, you need to use a bigger pan. In these pictures, we over-chopped and we had to move to a larger pan, our largest jelly roll pan.
- Drizzle about 1 Tablespoon of olive oil over the vegetables, as well as about 1 Teaspoon of Kosher salt and a generous dose of freshly ground black pepper. Always season liberally before cooking, since it makes a dramatic difference. Save your salt worries for seasoning at the table. If you season it correctly before cooking, you shouldn’t need any at the table. Use your hands to toss everything around the pan to coat evenly. There should be a thin layer of oil over all of the pieces, but not enough to pool in the pan. If you need to, drizzle with more oil; do so a little at a time.
- Put the pan into the oven and roast for 15 minutes.
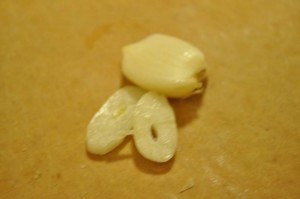
- Thinly slice 2-4 cloves of garlic, depending on your taste for garlic and the amount of vegetables.
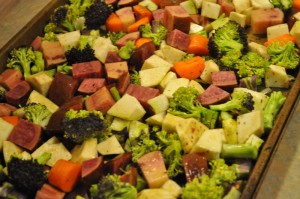
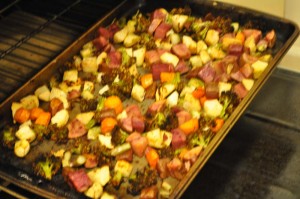
- After the first 15 minutes of roasting, add the garlic to the pan, give everything a stir (try to loosen all the pieces from the pan) and roast for another 15 minutes. At this point, the vegetables should look like this (sorry for the blurry close-ups):
- After the second 15 minutes, check the pan. The vegetables are done when they are a bit browned and crispy on the outside but still tender on the inside. If they aren’t done, give it a stir, put the pan back in the oven for another 5 minutes, and repeat, checking and stirring every 5 minutes until done.
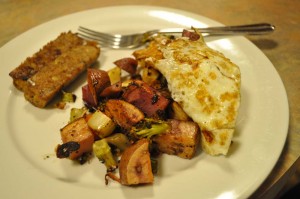
- Although we often have this dish alone for dinner, on this particular night we added a fried egg and used up some left over vegetarian sausage to serve with it. Delicious.



[...] How to Roast Vegetables [...]
[...] Preparation: Give them a good scrub. Then slice them thinly for salads, roast them, or steam [...]
[...] cups of roasted vegetables (leftover is great, but if you’re roasting just for this recipe, leave out the garlic and go [...]
[...] already covered the how-to’s of roasting vegetables in our techniques section. Since it’s such an easy meal, I made a winter version last week [...]
[...] an easy dinner the other night, Lindsay and I made roasted vegetables, and while that’s not interesting enough to post about again, we did wind up with an [...]
[...] shopped at Windfall Farms. I also don’t really have any good rutabaga recipes, other than our standard roast-everything-in-a-pan method. “Hold on there, Lindsay”, you might say, “The title of this post says [...]