Ack! Pie crust! Oh no!
Take a deep breath. It’s okay. I promise.
I always thought pie crust was impossible. This is because my mom, who made every single cookie and brownie I ate as a child, never EVER made a crust when I was a kid. EVER! She still doesn’t! And if Mom didn’t make crust, it wasn’t worth makin’. She relied 100% on the Pillsbury roll-out crust. Have you ever tried it? It’s delicious and totally fool-proof. Flaky and tender every single time. But…there’s some not so great stuff in there and the packaging hurts my eco-heart, so I got brave and tried making my own crusts last year. Y’know what? It’s really not that hard. It’s definitely harder than opening the package, but I usually have all the ingredients on hand and I get faster every time.
I like Mark Bittman’s food processor method for crusts. If you don’t have a food processor, you can use two knives to cut the butter into the flour or the tips of your fingers to rub it in. This method uses a rolling pin and looks pretty cool.
The cool thing about pie crusts is that the “recipe” is really easy to remember. 3-2-1. Three parts flour to two parts fat to one part water, by weight. I’ve included volumetric measurements below, in case you don’t have a scale, but you should really get one, because it makes life so much easier and there are fewer dishes to clean up.
If you still don’t believe that you can handle crust, check out this video. Listen to the happy music! How could you be afraid anymore? Give it a shot!
3-2-1 Pie Crust
Ingredients for Single Crust:
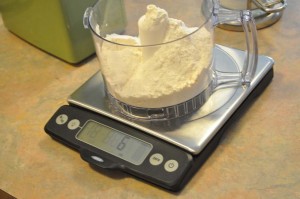
- 6 ounces all purpose flour, by weight, or 1 cup plus 2 tablespoons
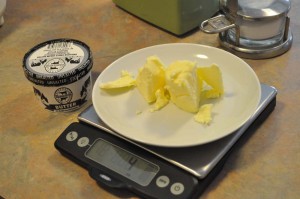
- 4 ounces cold butter, by weight, or 8 tablespoons, cut into about 8 chunks,
- 2 ounces ice water, by weight or volume – It’s the same! Isn’t that cool!?
- pinch salt
Directions:
- Put the flour and salt into the food processor and pulse a few times to mix and aerate the flour.
- Add the butter to the food processor one chunk at a time. After each addition, pulse a few times. The butter will jump around a lot at first, but will settle down. Once it does, add more butter.
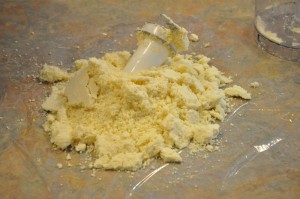
- Once the chunks are combined, turn the food processor on and pour the water in slowly through the tube. You might not have to add all of it. As soon as the flour/butter mixture looks like a shaggy dough, you’re done.
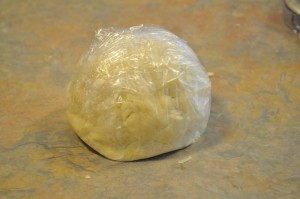
- Dump the dough out on a piece of plastic wrap and gather it into a ball. Wrap it tightly and stash it in the refrigerator for at least 30 minutes. At this point, you could leave it for a few days or freeze it for a couple of weeks.
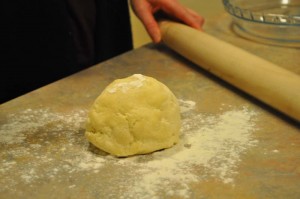
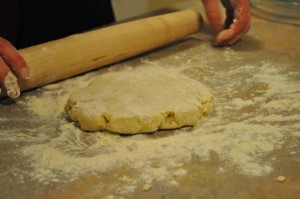
- When you’re ready to roll (hehe), sprinkle your (clean) countertop with flour. Put the dough ball on the counter and gently press it into a disk with your hands.
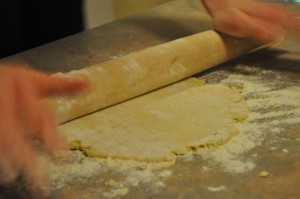
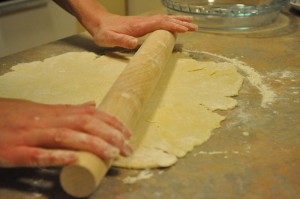
- Start in the center and roll outwards using gentle pressure. After every pass, flip or rotate the dough. The last thing you want is a perfectly rolled crust firmly stuck to the counter. Add more flour as needed. If the dough breaks apart, let it warm up a little. You could also try adding more ice water a few drops at a time.
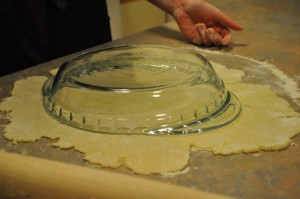
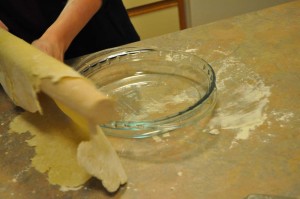
- When the dough is about 2 inches bigger than your dish, use the rolling pin to drape it over the dish. Don’t worry about it being perfectly round. You can patch any ragedy areas with the scraps you trim off.
- Use a sharp knife to cut away the extra dough, leaving a border of 1/2 to 1 inch. (Sprinkle the scaps with cinnamon sugar and bake them at 350 degrees for about 10 minutes for a nice mid-baking snack.)
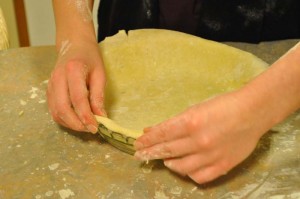
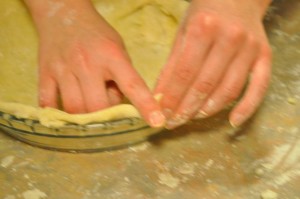
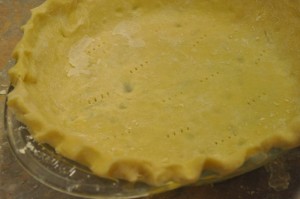
- Fold the edge under and crimp it.
I do this by pinching the dough with my left hand and pushing it against my right index finger. You could also use a fork. The point of this is to help establish a neat edge that will keep the juices in. You don’t want to waste any!
If you need a double crust (top and bottom):
- Double the ingredients in steps 1 through 3 above.
- In step 4 above, divide the dough into two balls.
- Once you have the bottom crust in (not crimped), add the filling and drape the top crust over.
- Trim the excess, leaving a 1 inch border. Fold the edge of the top crust under the edge of the bottom crust (again to keep the juices in) and crimp the same way.
Variations: add a tablespoon of sugar, substitute another type of flour, substitute ground nuts for half the flour, substitute another type of fat (e.g. shortening or shortening)
Now, my favorite part! Eat pie!

[...] Dough for single pie crust (9-inch pie) 2 cups pumpkin puree (preferably homemade, but canned is fine) 1 1/2 cups evaporated [...]
[...] to Make Crackers By Lindsay, on December 19th, 2010 Making crackers is very similar to making pie crust. It’s pretty simple and allows you to use local ingredients and avoid the dreaded [...]
[...] time, magic happens. They turn into the most beautiful ruby marbles that are perfect wrapped in a pie crust or piled next to a slice of pound [...]
[...] these directions to make dough for a double crust pie, adding the vinegar to the ice water and the sugar and salt to the dry ingredients. After [...]