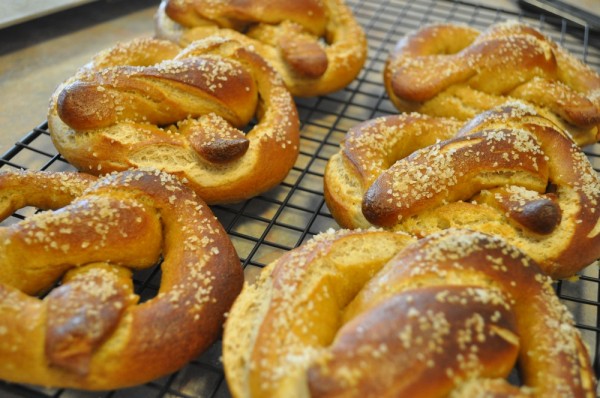
For the past few Super Bowls (as well as last year’s Oktoberfest), Lindsay and I have made soft pretzels. Making them is definitely more complicated than regular baking, but not horribly so, and the results (and crowd appreciation) are worth it.
Most recipes on this blog have been modified somewhat from our original source (sometimes quite modified). This is one of the few recipes that we have made many times and never once tried to tweak. There is no need. It’s spot-on. It’s from our personal favorite, Alton Brown.
Equipment:
- Stand mixer
(optional)
- Thermometer (Infrared
or probe
)
- Large bowl
- At least two half-sheet (large) baking pans
- Parchment paper
- Large pot
- Kitchen tongs
- Large, flat spatula
Yield: 8 pretzels
We have never just a “single” batch of these. We are always bringing them to a party, so we make 16 or 24. Once you get a rhythm down, it’s easy to keep going. However, you still need to work in increments of 8 pretzels. if you are using a stand mixer, such as our typical KitchenAid Artisan stand mixer, and you want to double (or triple) the recipe, make the dough once (8 pretzels), get that dough rising, and then repeat. As each batch finishes rising, follow the steps to shape it into pretzels. By the time you are done shaping that batch, the rise on the next batch should be complete. Have all your pretzels shaped by the time you get to the baking soda bath.
I once tried to make a double-batch in the stand mixer without separating it into two batches and it very nearly burned out the motor. It was too much. If you have the next-level of stand mixer (the type that does not tilt up), it might have the power and capacity; maybe you can power through it.
It is also possible to knead this dough by hand, even though it’s been written assuming you are using a stand mixer. We did it by hand the first time we made them. Follow the same yeast proofing steps in a large bowl. Then mix in the flour and butter with a rubber spatula until combined, and dump the dough onto a surface that has been cleaned and floured and start kneading by hand. The good news is that if you do it by hand you can double or triple the recipe straight away and only need to knead once. You are much stronger than a stand mixer!
Note that if you double the recipe, there is no need to double the baking soda bath (i.e., you will still only need 10 cups of water and 2/3 cup of baking soda). Just keep using the same potful.
Ingredients (multiple all quantities to increase the yield):
| Amount | Ingredient | Preparation | Where we bought it (* Union Square Greenmarket) |
|---|---|---|---|
| 1.5 cups | Warm water | Heated to 110 – 115 degrees F | |
| 1 TBsp | Sugar | ||
| 2 tsp | Kosther salt | ||
| One packet (or 0.25 oz) | Active dry yeat | ||
| 22 oz by wieght | All-purpose flour | ~ 4.5 cups by volume | Cayuga Pure Organics * |
| 2 oz | Butter | Melted | Ronnybrook Farm and Dairy * |
| A few tsps | Vegetable or olive oil | ||
| 1 | Large egg yolk | Beaten with 1 TBsp water | Northshire Farm * |
| 1 TBsp or as desired | Pretzel salt |
For the baking soda bath (do not need to be multiplied):
| Amount | Ingredient | Preparation | Where we bought it (* Union Square Greenmarket) |
|---|---|---|---|
| 10 cups | Water | Boiling | |
| 2/3 cup | Baking soda | Dissolved in water |
Directions:
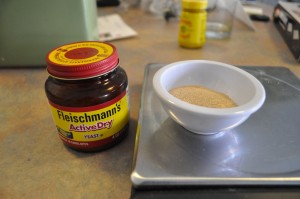
- Combine the sugar and salt in the bottom of you stand mixer’s bowl. Measure out the yeast into a separate bowl.
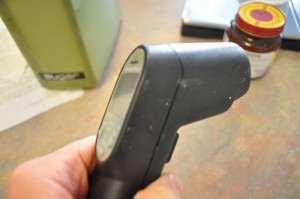
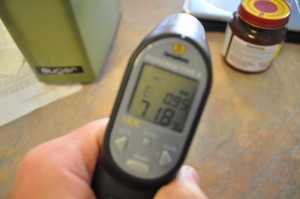
- Heat the 1.5 cups of water in the microwave for about 1 minute (time will vary according to your microwave and the type of container you are heating it in). Measure the temperature with a thermometer and make sure that it is at least 115 degrees. If it is more, then wait for the temperature to fall.
You can use any type of thermometer that will get a reading, but an infrared (IR) thermometer comes in very handy. This is actually a piece of construction / contractor hardware and not a cooking tool, but with it you can measure the temperature of the water just by pointing it and pulling the trigger.
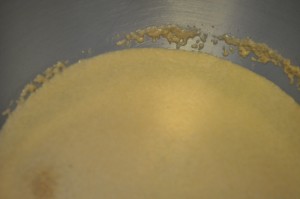
- When the water reaches 100 – 115 degrees F, add it to the bowl. Mix to dissolve the sugar and salt into the water. Sprinkle the yeast onto the surface of the water and let it sit for 5 minutes. When the surface is foamy and a bit bubbly, it’s ready (see below)
This step is proofing the yeast. Basically, the yeast has been dormant and you are waking it up (with the heat) and giving it its first meal (the sugar). That’s why the water temperature is important. The optimal temperature will wake the yeast, but if it’s too hot it will kill it. That’s what eventually led me to invest in the IR thermometer. Now your yeast is ready to help the dough rise.
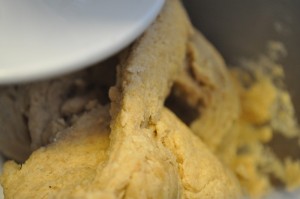
- Melt the butter in the microwave (chunk it up and microwave it for 30 – 60 seconds). Add the flour and melted butter to the bowl. Using the dough hook attachment, turn the mixer on to a low speed until everything is combined (see picture below). Then turn it up to medium and let it knead for about 3 – 5 minutes, until it has formed a ball and pulls away from the side of the bowl without sticking. You may have to stop the mixing and intervene once or twice if the dough doesn’t cooperate. Just peel it off the hook with your hands or a rubber spatula and place the blob back at the bottom of the bowl.
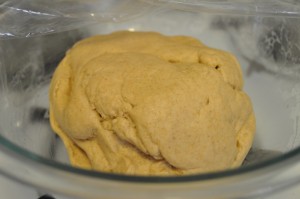
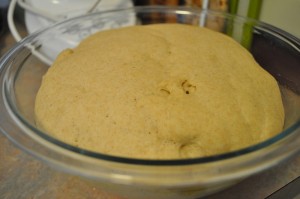
- If you are going to double the recipe, have a separate large bowl ready. If you are making a single batch, you can just use the bowl from the stand mixer. Drizzle it / brush it with a small amount of oil and place the dough ball at the bottom of it. Cover it with plastic wrap or a tea towel and let it sit for 50 – 55 minutes, or until it doubles in size. The warmer it is, the quicker it will double, because the yeast is happier. We put ours on top of an oven burner. We don’t turn anything on, but the pilot light underneath provides a little bit of warmth.
- When the timer for the rise is about 10 minutes from going off, turn the oven to 450 degree. Line a number of half-sheet (large) baking pans with parchment paper and set aside for later. Brush the paper with a tiny bit of oil. After you shape each pretzel (see below), place it onto one of the lined pans. You should be able to fit 6 pretzels on each sheet.
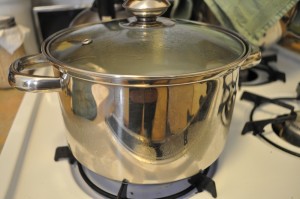
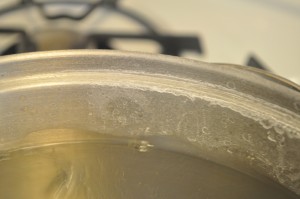
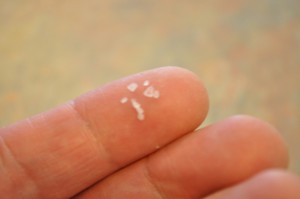
- Mix the baking soda into the 10 cups of water in a large pot. Turn the heat to high, and bring it to a boil, mixing sure to dissolve the baking soda. You will begin to notice some strange deposits forming on the pot (they look like salt water deposits). This is from the baking soda and is normal.
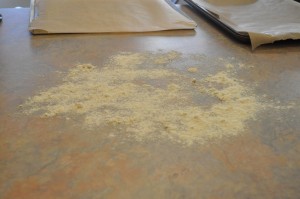
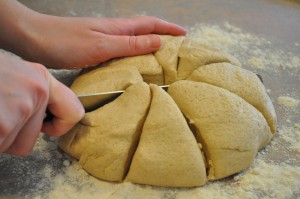
- While you are waiting for the water to boil, clean and flour a large work surface. Once the dough is done rising, cut the dough ball into eight equal pieces.
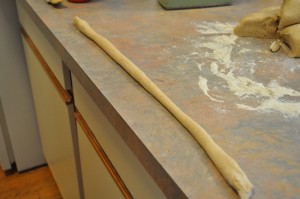
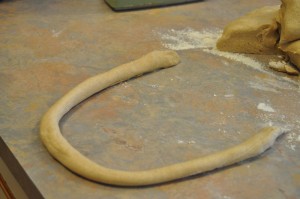
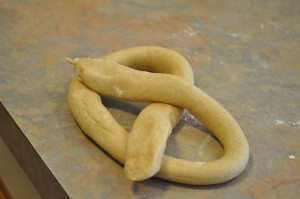
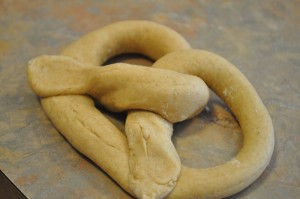
- Now for the artistic part: shaping the pretzels:
- Roll each piece into a rope that is 24 inches long.
- Make the rope into a “u”.
- Fold the ends back over each other.
- Give the center of the pretzel another half-twist, and press and pinch the ends onto the “body” to lock them in plce
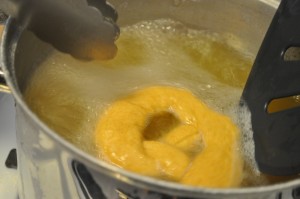
- Once you have a full sheet of shaped pretzels, you can start with the baking soda bath. This is where it helps to have two people; the shaping process + the baking soda bath process is a perfect team effort. My tools for the boiling bath are a pair of kitchen tongs and my widest spatula. Pick up one pretzel with the spatula and/or your hands and place it into the boiling pot. Leave each pretzel in the water for 30 seconds, and then carefully remove with the spatula and place back on the pan.
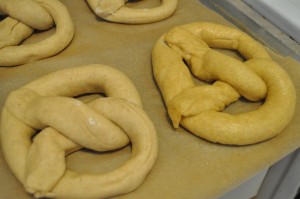
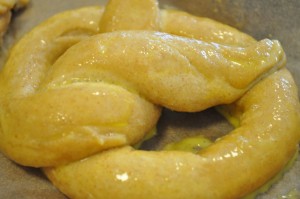
My trick is that I place the pretzels into the water “upside-down”. After 15 seconds, I flip them over with the spatula and tongs and let them boil for another 15 seconds. Because they float, this ensures that both sides of the pretzel get an equal treatment. This is important because it is this process that gives the pretzels their “skin”. The baking soda (which is a base) gelatinizes starches on the surface of the dough and creates a chemical base that will brown nicely when baked. It’s the same process for bagels. You can see the difference in the picture below. the pretzel on the right has been boiled; the others have not been.
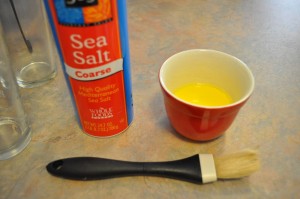
- Once you have an entire sheet pan of boiled pretzels, it’s time to given them the final prep before baking. Separate an egg and put the yolk into a small bowl. Add the TBsp of water and whisk them together until beaten. Measure out a small bowl of coarse salt. If you can get “pretzel salt”, terrific, but any coarse sea salt will do. Also make sure to have a pastry brush on hand.
Remember to double the egg wash if you are doubling the recipe. You will need it.
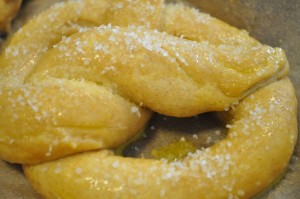
- Brush each pretzel with the egg wash. Don’t be bashful. Get into all the nooks and crannies. Finally, sprinkle generously with the salt.
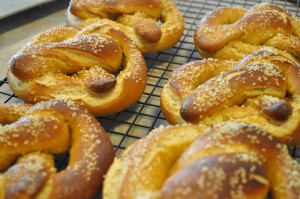
- Once all the pretzels on a pan are egg-washed and salted, put them in the oven to bake for 12 – 14 minutes, until they are a dark, golden brown. When done, place them on a cooling rack for at least 5 minutes before serving.
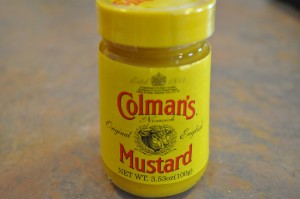
We like to serve our pretzels with a selection of mustards, but every time the only mustard anyone wants with them is Colman’s hot English mustard. We strongly recommend it.
If you want to double up and bake two pans at once, be sure to space the racks out in the oven as much as you can and to swap the pans once during baking to compensate for any temperature differences. If you are baking only one pan at a time, place the rack in the middle of the oven.
Before and after the rise.

Lindsay, this looks delicious. BUT… this recipe seems a little… intense… Maybe the next time you’re inspired to make this, I can be your #2 baker?