If you’ve been wanting to try your hand at canning, but don’t know where to start, give this one a try. There’s very little work and you end up with a really versatile product.
I didn’t really plan well last year and ended up making a lot of jams, jellies, and fruit butters, which we don’t eat very often. People are super happy to get them as gifts, though, so it made Christmas and birthdays pretty easy. ![]() This year, I am focusing on canning stuff that we’ll actually use at home. Our favorite jarred fruit turned out to be peaches in light syrup, so I’m determined to do more whole fruit this year. Whole fruit is nice because it easily becomes a simple dessert when you top it with cream (whipped or not). You can also add it to muffins and quick breads. It also requires less work than jam and you don’t have to worry about it jelling correctly. Win!
This year, I am focusing on canning stuff that we’ll actually use at home. Our favorite jarred fruit turned out to be peaches in light syrup, so I’m determined to do more whole fruit this year. Whole fruit is nice because it easily becomes a simple dessert when you top it with cream (whipped or not). You can also add it to muffins and quick breads. It also requires less work than jam and you don’t have to worry about it jelling correctly. Win!
If you’re new to canning, make sure to read these instructions first. The recipe below is pretty short, because most of the work is the regular canning process.
Macerated Strawberries
Yields about 5 pints
NOTE: Strawberries sit for 5-8 hours before canning. Make sure to plan for this.
Ingredients
| Amount | Ingredient | Preparation | Where we bought it (* Union Sq. Greenmarket) |
|---|---|---|---|
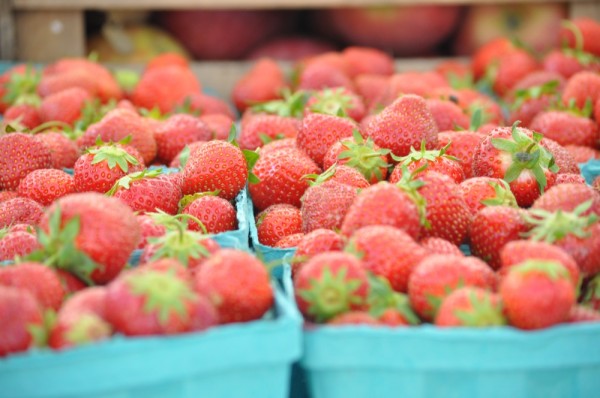
| 4 quarts | Strawberries | Hodgson Farm * | |
| 1 1/2 cups | Sugar |
Directions
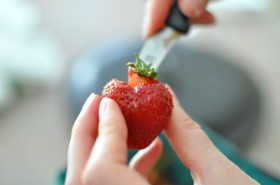
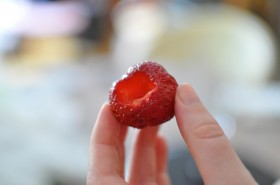
- Wash and hull the strawberries. Hulling means to remove the stem, leaves, and the hard, white area under the stem and leaves. You should end up with about 12 cups, but this depends on how tightly your quarts were packed.
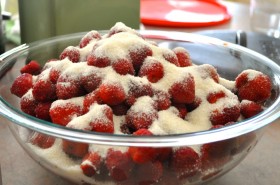
- Put the strawberries in a large bowl. Sprinkle the sugar over the top and toss gently to coat the strawberries in the sugar. You might want to adjust the amount of sugar if you ended up with more or less than 12 cups of hulled strawberries. For example, if you have 16 cups of hulled strawberries, use closer to 2 cups of sugar.
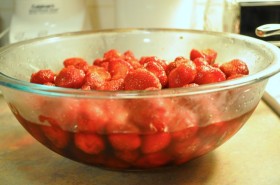
- Let the sugary strawberries macerate (sit in sugar) for 5 to 8 hours in the refrigerator or other cool, dark place. The sugar and time will pull some of the juices out of the strawberries, so they will be sitting in a nice syrupy liquid at the end.
- After the strawberries are done macerating, prepare your canning tools, pint jars, and lids. (See Steps 3 to 4 and 6) I filled 5 pint jars, but prepare 6 or 7 just in case.
- Heat the strawberries and syrup over medium low heat in a large pot until the sugar has dissolved and the strawberries have warmed through.
- Boil a kettle of water in case you need extra liquid in the jars (I didn’t).
- Fill the warmed jars with strawberries and syrup leaving 1/2 inch headspace. Add boiling water if you need extra liquid. Put the lids and screwbands on the jars. (See Steps 7 to 11)
- Process the jars for 10 minutes. (See Steps 12 to 19)
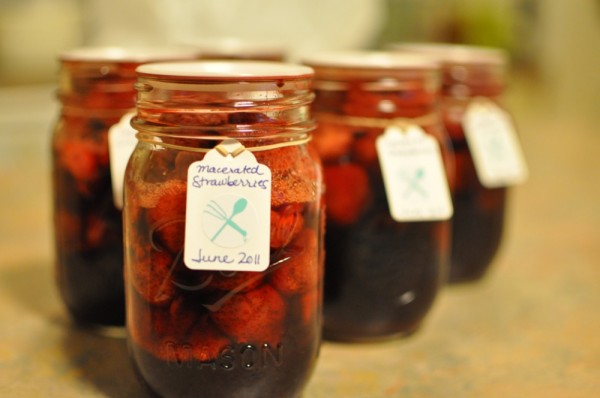
See, that wasn’t too hard! You’ll notice that my lids look a little funny. It’s because I often use reusable plastic lids, rather than the single-use metal ones, for things that I’m not likely to give as a gift. The process for these is just a little bit different than the metal lids. Food in Jars did a great post on them, if you’re interested.

First of all I want to say terrific blog!
I had a quick question which I’d like to ask if you don’t mind.
I was interested to find out how you center yourself and clear your head prior to writing.
I’ve had a difficult time clearing my thoughts in getting my ideas out.
I do enjoy writing but it just seems like the first 10 to 15 minutes tend to be wasted simply just trying to figure
out how to begin. Any suggestions or tips?
Kudos!
It’s actually very difficult in this full of activity life to listen news on TV,
therefore I only use web for that purpose, and obtain the hottest news.
[...] juice to the base and freeze according to the directions for your machine. Eat as is or top with strawberries and crumbled meringue [...]