I have learned that there are two things in life that impress people way more than they should. (1) An undergraduate math degree and (2) homemade marshmallows. I know you mean it as a compliment, folks, but girls are good at math, too. Even ones that no longer have bad perms and pink plastic glasses (childhood friends – you know what I’m talking about).
Now on to number two…also unreasonably impressive. I took a batch of these into my office Christmas party, met a lot of new people, and will now forever be known as “Marshmallow Girl”. I spent a lot more time on the gingersnaps, but these are what people remember. Homemade marshmallows are much better than store-bought, in my opinion. The texture is better; there’s no chemical taste; and you can flavor them however you’d like. Plus, you can wow some new friends.
Two notes on these. First off, I started with a recipe from The Nourishing Gourmet and doubled it. I think the marshmallows were too hard as a result. Next time, I’d try three packages of gelatin, rather than four (equivalent to 3 tablespoons). Secondly, this involves some very very hot, sticky liquids. Be careful. Use common sense and a much bigger pot than you think you need. Burns caused by hot sugar are not fun and shouldn’t be risked.
Not at all related to marshmallows, but still very important – residents of Dorchester, Boston’s largest and most diverse neighborhood, are working on their first community food system project, a winter farmers’ market. They need less than $1,000 to reach their Kickstarter goal. To read more and give them some support click here.
Chocolate Peppermint Marshmallows
Makes one 9-by-9-inch pan of marshmallows
| Amount | Ingredient | Preparation | Where we bought it |
|---|---|---|---|
| 3 to 4 packages | Gelatin | ||
| 1 cup | Cold water | ||
| 1 cup | Honey | Northshire Farm | |
| 1/4 cup + 1 TBsp | Cocoa powder | ||
| 1/4 tsp | Salt | ||
| 1/2 tsp | Peppermint extract | Use less if you want a milder peppermint flavor | |
| 2 TBsp | Cornstarch | ||
| 1 TBsp | Powdered sugar |
Directions
- Put 1/2 cup cold water into the workbowl of a stand mixer and sprinkle the gelatin on top.
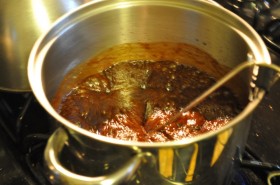
- In a large pot, mix another 1/2 cup of water, the honey, 1/4 cup of cocoa, and the salt. Don’t skimp on the pot here. I know it’s only about 2 cups, but it will boil up quickly. As an example, I started with a 6-cup saucepan and had to pour everything (very carefully) into a larger pot after about 10 minutes.
- Bring the liquids to a boil over high heat, watching carefully. Once you reach a boil, put the lid on for 3 minutes. This causes condensation to run down the sides of the pan, removing any sugar crystals, which will mess up the process.
- Remove the lid and continue boiling until the mixture reaches 240 degrees, stirring occassionally.
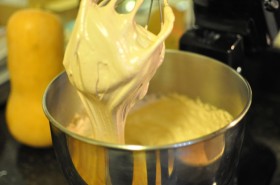
- Using the whisk attachment, beat the gelatin into the water. Then, very carefully and while the mixer is going, pour the hot honey mixture into the water and gelatin. Aim to put a thin stream down the side of the bowl. Once everything is incorporated, turn up the speed to high and let it go for about 12 minutes.
Note: It will probably start to smell kind of gross at some point. This is normal. Also, your poor stand mixer might start to heat up a bit. This is also normal. - While the mixer is doing its thing, prepare the pan. Spray a 9-by-9-inch pan with nonstick spray. Mix together 1 tablespoon of cocoa, the cornstarch and the powdered sugar and dump it into the pan. Roll the pan around and tap it to coat the bottom and sides in the powder. Pour out the extra and save for later.
- The marshmallows are done when they look like marshmallow fluff and are only slightly warm. Add the peppermint extract and mix for another minute.
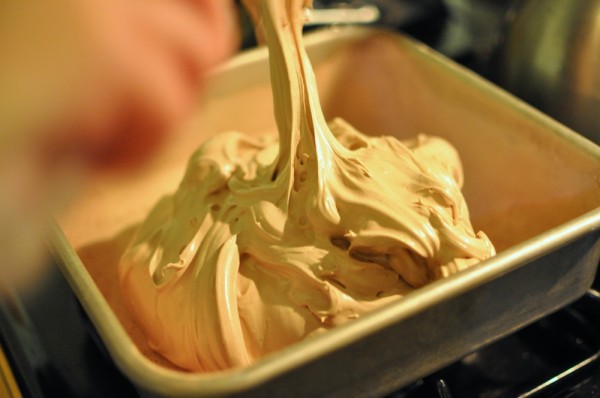
- Use an oiled spatula to coax the fluff from the bowl and into the prepared pan. Spread it out and smooth the top, if it’s cooperating. If it’s not, just do the best you can.
- Dust the top with some of the reserved powder mixture and save the rest for later. Allow the marshmallows to set up for 8-12 hours.
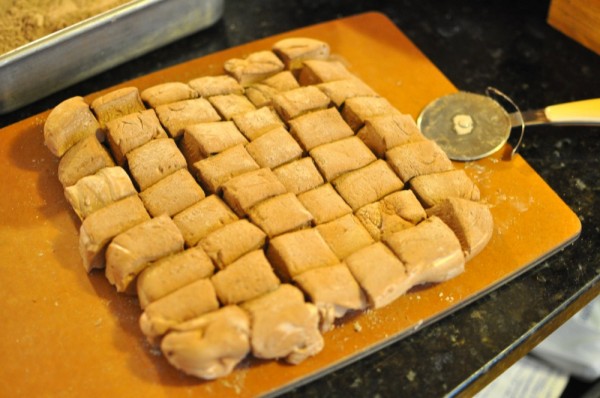
- Once they’re set, turn them out onto a cutting board and cut however you’d like. A pizza cutter works pretty well. Toss the cut marshmallows and the reserved powder mixture in a zip-top bag or covered bowl until all the sticky edges are covered. Go forth and impress!


I tasted my first homemade marshmallow this evening (um, wow), and I’m psyched to try out your recipe for chocolate peppermint ones!
I keep saying I’m going to make marshmallows and then I don’t. I’m really going to have to get on it now that I have your tutorial and the honey. Have a great holiday!!
Emily – They’re so much better than the commercial ones, right?? I never would have expected it.
Therese – They’re really quite easy. If you can do vanilla, you can do these.