Our Dark Days meal for the week was something that we have already posted, so we decided to post a strategy instead. Eating locally sometimes means having limited options and learning how to deal with what you can get. In our case, we can’t find (or afford when we find it!) user-friendly, pre-wrapped packages of local chicken breasts. So, we buy a whole chicken and do some work ourselves.
Yep, it’s kind of gross. But I think it’s important to acknowledge that you’re eating an animal, not just “meat”. I sort of feel like this is the respectful way to eat chicken. Is that overly crunchy and “we are the world”? Probably. But it’s also waaaay cheaper and not all that bad. To combat the ick factor, keep a pair of tongs and a towel nearby. When I feel the willies coming on, I just clean my hands on the towel, grab the tongs, take a deep breath, and remind myself that if I’m going to eat it, I should be able to touch it. A few minutes with the tongs and I’m back to my bare hands.
This is probably not the “official” way to cut up a chicken, but it works for me. The model for our photo shoot was a delicious 3-and-a-half pound chicken from Stillman’s. She had a little cosmetic issue with the skin on her breasts, so imagine that it was intact. Sorry for the blurry photos…the day went something like this…
Erik: Hold still so I can take the photo.
Lindsay: I’M HOLDING A CHICKEN SPINE. IT’S GOOD ENOUGH!!
Directions
- Get all your tools ready. Once your hands are chicken-y, you won’t want to dig around. You’ll need:
- Cutting board
- Sharp knife
- Kitchen scissors
- Plate to hold the finished pieces
- Zip-top bag or something similar to hold the pieces that will go in the freezer for stock later
- Tongs
- Towel for drying your hands when things get icky or slippery
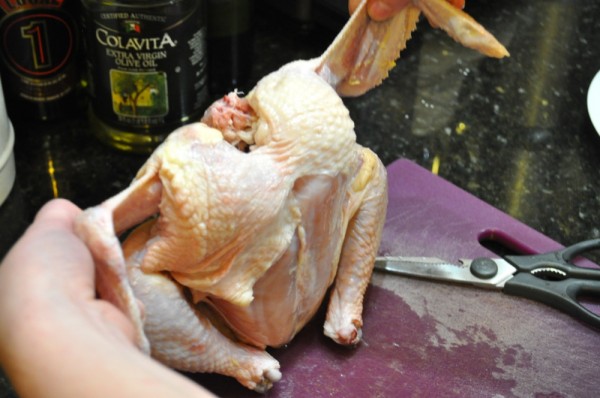
- Take a look inside the bird. Is there a little bag? These are the giblets – the organs. Some people cook them up; some people toss ‘em. Your choice, but take them out of the cavity either way.
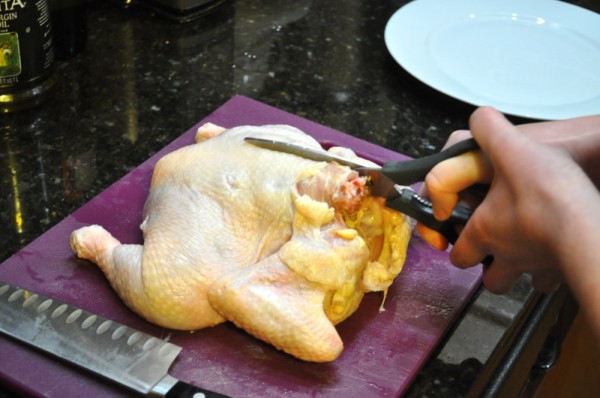
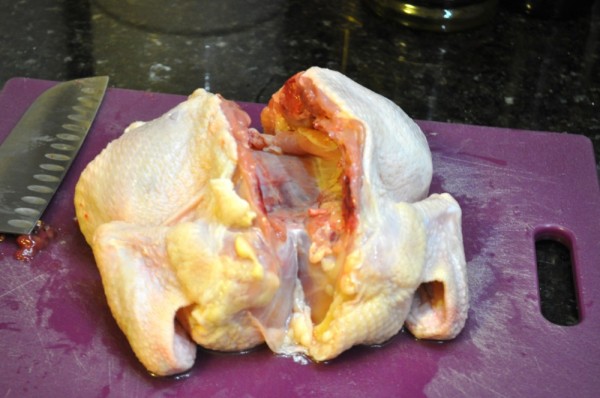
- Put your chicken, breast side down, on the cutting board. Use the scissors to cut down one side of the spine and then the other to remove it. You might have to use two hands. I save the spine for chicken stock, so it goes in my zip-top bag.
- If there’s anything floating around inside, get rid of it. My chicken had a couple of things that I assume were organs. That called for tongs and a deep breath. I got through it, though, and so will you.
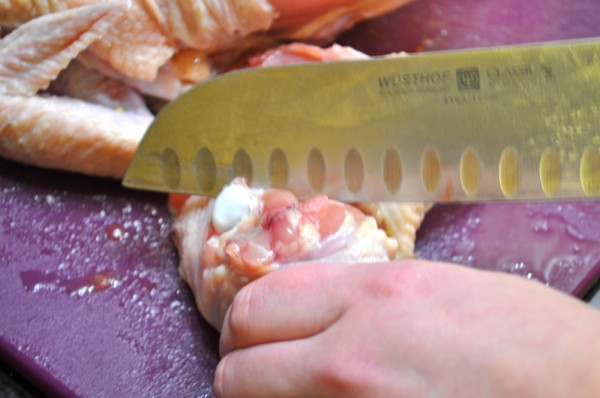
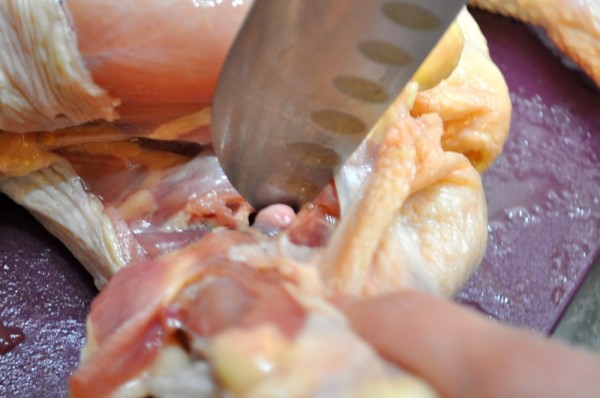
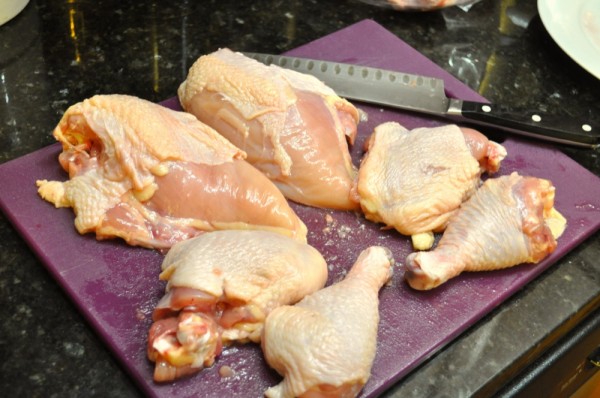
- Flip the chicken over. Legs are up first. This is mostly about dislocating the joint, rather than cutting through the bone. Lift up the chicken by a leg to see how it moves. This will help you figure out where the joint is. Cut through the skin and meat on all sides of the joint until you can see it. Bend the leg back and forth to try to pop it. Sometimes I’m lucky and it comes apart easily. If that doesn’t work, stick the tip of your knife in the joint and push down to break it. Repeat with the other leg.
- If you want, you can also separate the drumstick from the thigh. Follow the same steps as for separating the leg from the body – find the joint, cut through the skin and meat, and pop/cut the joint.
- Now for the wings. I usually stick these in my stock bag along with the spine, but you can certainly cook them if you’d like. Again, just use the same steps as for the leg to remove both wings.
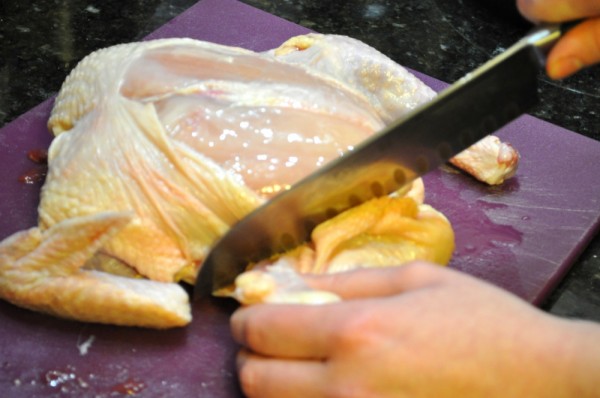
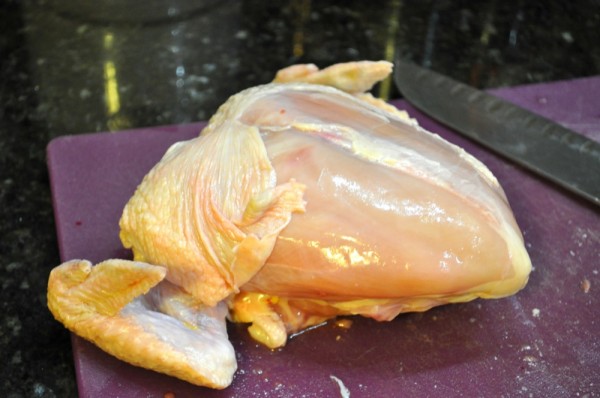
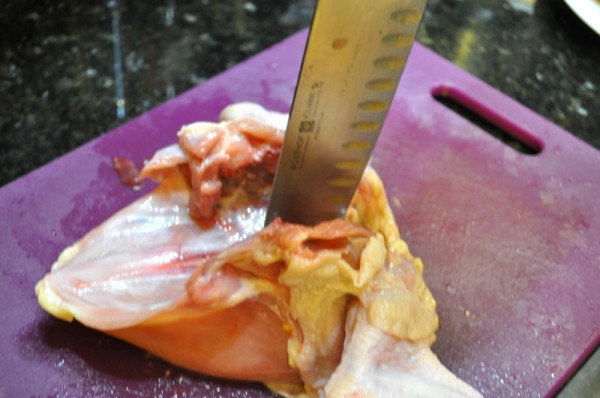
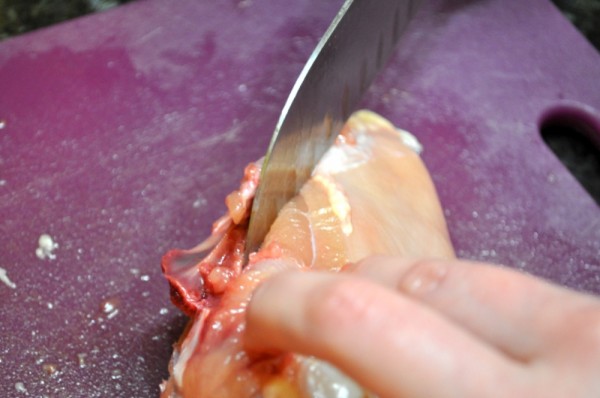
- Once the wings are off, you’ll have a very familiar piece of chicken staring at you. The breasts. With the neck-end facing you, stick the tip of your knife in the bone at the top-middle of the breasts. Push the blade of the knife down to the cutting board to split the bone in half. One half of the breast should come away pretty easily at this point. You’ll have to use your fingers to separate the meat from the center bone, leaving you with ribs and meat. You can leave the second breast as is or remove the wedge-shaped breastbone by working the meat away from it with your fingers and a knife. There are probably nicer ways to split the breasts, but this works for me.
- There. Done. Not so bad, right? Cook however you’d like.

helpful tutorial!
Wonderful post! Learning how to butcher a whole chicken has been pretty high on my “to-do” list, so I’ll definitely be bookmarking this for future reference.
You inspired me to make sure that I butcher our next whole chicken. Thanks, Linds!
[...] and Erik from EatLocal365 have created a step by step photo tutorial on how to butcher a whole chicken. I found this [...]
[...] Cut into 6-8 pieces (purchase pre-cut or see this post) [...]