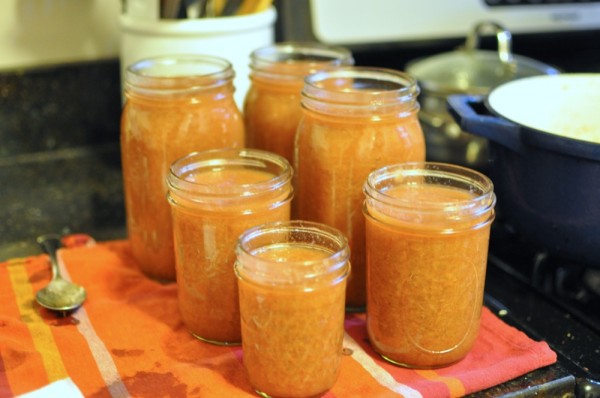
I keep telling my friends that canning doesn’t really take that much time. Well, sometimes, it totally does. It takes all day and you end up sticky and with a sink full of dishes. BUT you can avoid that very easily by being smart about the recipes you make and how you make them. I made a canner full of applesauce yesterday, but I also managed to sleep in, do laundry, bake bread, finish a knitting project, watch a little How I Met Your Mother, and go for a 20-mile bike ride. Your day might be full of family events, work responsibilities, reading a book, watching the news, whatever, but you can still fit in canning if you want to.
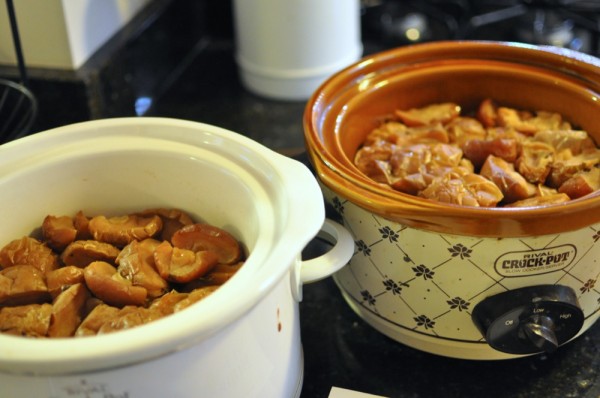
This recipe relies on two appliances to make life easier – the slow cooker and food mill. We actually used two slow cookers to speed things up. If you don’t have two slow cookers or can’t borrow one from your nice friend, Ben, you can cook in two batches. Just stick the cooked apples in another container in the refrigerator, load up the slow cooker again, and then mill everything when the second (or third or fourth) batch is done. The slow cooker is brilliant, because it eliminates all the time you’d otherwise spend standing over the stove. Plug it in and go play outside.
If you don’t have a food mill, then check out our original applesauce post. We posted a little tutorial on how to set up a KitchenAid food mill attachment, because I get buffaloed every time I open the boxes, but it really is a worthwhile tool.
Easy Peasy Applesauce
1 peck of apples will yield about 4 quarts of applesauce.
- Wash as many apples as you want, using the yield above as a guide. A peck weighs somewhere between 10 and 14 pounds.
- Quarter the washed apples and toss them into the slow cooker(s). Don’t worry about peels and seeds, because we’ll remove these later. You might want to cut the bigger apples into sixths, just so that they nestle better into the slow cooker.
- Cook on high for 6 hours. This part is pretty flexible as long as the apples are really really soft at the end. You could cook one batch on low overnight and then start the second batch on high in the morning. I started right before lunch, then went on a nice long bike ride. When I got home for dinner, they were ready to go.
- When the apples are cooked, get your canning gear ready. (Steps 3 and 4)
- Pass the cooked apples through a food mill directly into a pot. The food mill will remove the peels and seeds and smash everything into a nice consistency.
- If you want, you can spice up your applesauce at this point. You can add any herb, spice, or sweetener you want. We did maple syrup and cinnamon last year, which was a big hit. I think brown sugar and crumbled dried chiles would be good. Maybe smoked paprika? That stuff makes everything awesomer. Do not add nuts, dried fruit, dairy, or oil, however. Those ingredients change the pH of the sauce, potentially rendering it unsafe for canning. (Read this post for more science-y stuff.)
- Regardless of whether you add extra ingredients, put the pot of sauce on the stove and heat to boiling. If you want your sauce thicker, keep it at a simmer until it reaches the consistency you’re looking for.
- Fill quart, pint, or half pint jars, leaving 1/2 inch headspace, and process for 20 minutes. (Steps 6 through 22)


