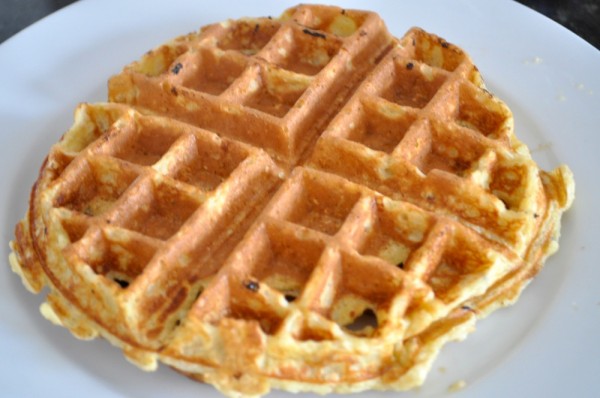
In honor of International Waffle Day (March 25th), Lindsay and I made waffles for breakfast this past weekend (we’ll be out of town on the 25th). It was difficult to choose which recipe to make. I am a bit of a waffle enthusiast, and have made excellent yeast waffles, half whole-wheat waffles, hazelnut waffles, bacon brown sugar, and Liege waffles. That’s before even talking about the toppings. In the end, based on what we had on-hand and the fact that it was the most “local” recipe for posting, we decided to make oat waffles.
Local Oat Waffles
Makes 5-6 waffles
| Amount | Ingredient | Preparation | Where we bought it (SWM = Somerville Winter Market) |
|---|---|---|---|
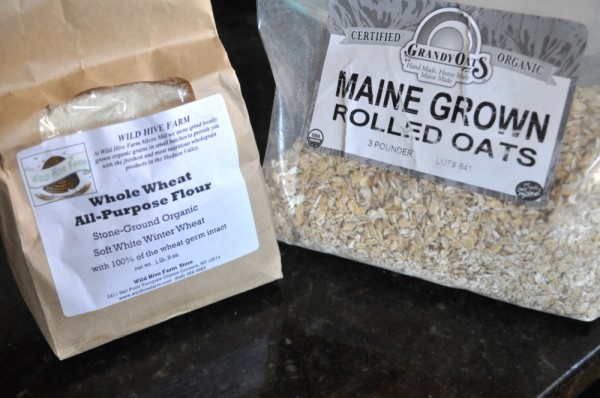
| 5.5 oz | Oats | Toasted and ground | Sherman Market |
| 4 oz | AP flour | We used whole wheat AP flour because that’s what we had | Wild Hive Farm |
| 3 TBsp | Sugar | ||
| 1 tsp | Baking powder | ||
| 1 tsp | Kosher salt | ||
| 0.5 tsp | Baking soda | ||
| 3 | Large eggs | Beaten | Red Fire Farm CSA |
| 2 oz | Unsalted butter | Melted but not piping hot | Shaw Farm |
| 16 oz | Buttermilk | We substituted yogurt and lowfat milk – see below | Shaw Farm |
Directions
- As Alton Brown always reminds us, in baking, it’s always preferable to measure your major dry ingredients (i.e., the flour) by weight. Variations in humidity and grind density can throw you off if you measure by volume (e.g., cups), and having too much or too little flour can have a big impact. Waffles are baked, so the raw oats and the flour listed above are by ounces by weight.
- Place a saute pan over medium heat. Once it’s nice and hot hot, add the raw oats and toast them for about 5 minutes (until you can smell them getting toasty). Give them a second to cool off, and then grind them in a food processor. Pulse until you get more or less to the consistency of coarse flour.
- In a large bowl, mix all of the dry ingredients (AP flour, oat flour, sugar, baking powder, salt, baking soda). Whisk until everything is combined evenly.
- Melt the butter in the microwave. Time will vary depending on the microwave, but start with increments of 15-20 seconds. You want it melted but not dried out. Let the butter cool for a minute and beat the eggs in a medium bowl (it will need to be able to contain the buttermilk), then beat in the butter. Whisk in the buttermilk last. We did not have any buttermilk, local or otherwise, so we used 1 cups of our homemade yogurt mixed with 1 cups of low-fat milk (all from milk from Shaw Farm). It worked as a substitution, but wasn’t perfect, so get buttermilk if you can.
- The skill in making waffles is in combing the two bowls that you now have: dry ingredients and wet ingredients. The key is to fold the wet ingredients into the dry ingredients using a rubber spatule. DO NOT WHISK OR ZEALOUSLY STIR. Pour the wet ingredients onto the top of the dry ingredients.
Then, in one fluid motion, use the spatula to cut a line down the middle of the bowl and turn your wrist to bring the bottom contents of one-half of the bowl to the top. Turn the bowl 1/4 turn and do it again. Repeat until most of the pockets of dry flour are gone.
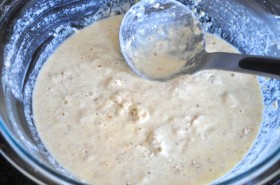
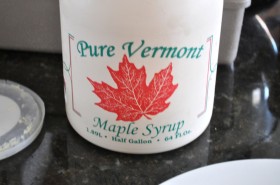
Don’t overdo it,though. You do not want a perfectly consistent mixture. There will still be a few pockets of dry ingredients as well as lumps in the batter. That’s fine. The risk here is over-mixing, so err on the side of lumpy (see below). Turn on your waffle iron and let the batter rest in the bowl for 5 minutes. Also take you maple syrup out of the fridge so that it can get a little warmed up.
- Make your waffles according to your waffle iron’s instructions. Measuring the amount of batter for each waffle is the hard part, and each waffle iron is different, so I can’t help you. I have a large ladle that I know more or less matches the batter volume of one waffle, so that’s a big help.

