This year we wound up accidentally stockpiling certain root vegetables from our winter CSA. Rutabagas. Parsnips. Turnips. The good news is that they last a log time. The bad news is, that takes away any imperative to use them up. The next thing you know, you crisper or root cellar (or wherever you keep them) is about to burst. We found this recipe in an attempt to use them up in volume to take care of the issue.
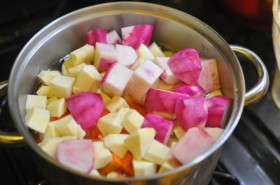
This recipe can be used with any winter root vegetables that you might have. Don’t limit it to the ones listed above. As you can see, I accidentally included some radishes that I though were turnips until I chopped them (watermelon radishes are green on the outside and they’re huge – tricksters!). As long as you get to three total cups, it works with any mix or ratio. However, I would suggest keeping it at least 75% “mild” ones (i.e., not radishes).
In order to use up as many of these vegetables as possible, we actually doubled this recipe and made two casseroles in separate casserole dishes (which, Lindsay informs me, are just called casseroles, but I reject that terminology). It wasn’t much more work than just making one (no more actually, outside of the peeling and cutting, but that is the bulk of the effort). We froze the second, right in the dish (covered with foil) and ate it a few weeks later when we didn’t feel like cooking dinner. This recipe stores and reheats well from the freezer as well as the fridge. (Please allow it some time to thaw!)
It’s easy, versatile, scalable, and stores well, including freezing. That’s the recipe for a go-to…recipe.
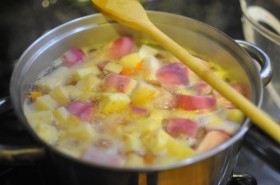
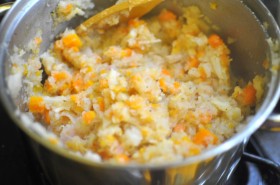
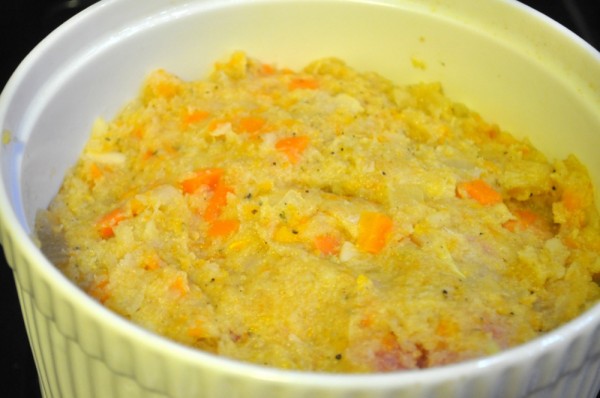
Now that I’ve made this (doubled) recipe a few times, I don’t bother to measure the chopped vegetables. Measuring cups of 1-inch cubes is a pain. I just keep going until the pot is as full as pictured. Keep in mind, though, that the pictures are of a doubled recipe.
Winter Root Vegetable Casserole
Makes 1 Casseroles / 4-6 servings
| Amount | Ingredient | Preparation | Notes |
|---|---|---|---|
| 1 cup | Rutabagas | Peeled and cut into 1-inch cubes | |
| 1 cup | Parsnips | Peeled and cut into 1-inch cubes | |
| 1 cup | Turnips | Peeled and cut into 1-inch cubes | |
| 3/4 cups | Carrots | Peeled and diced / chopped | |
| 1/3 cups | Yellow onions | Chopped | |
| 2 TBsp | Butter | ||
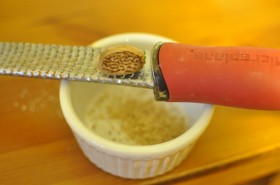
| 1 dash | Nutmeg | Freshly ground if you have it | |
| 1/2 tsp | Salt | ||
| 1/2 tsp | Pepper | Freshly ground | |
| 1/3 cup | Breadcrumbs | Panko works great | |
| 2 | Eggs | Lightly beaten | |
| 1/2 cup | Cheese | Grated | Cheddar, or anything you like |
Directions
- Chop the three cups of root vegetables into cubes of equal size (1 inch). Chop the carrots smaller (about a quarter-inch dice). Put them in a large pot, add 2 cups water, and bring to a boil. Once boiling, reduce it to a simmer and leave it until everything is tender enough to mash (12-15 minutes). Drain off the water
- Once the vegetables are coming to a boil, turn the oven on to 375 degrees.
- While the vegetables simmer, chop the onions and melt the butter in a pan over medium heat. Saute the onions and set aside.
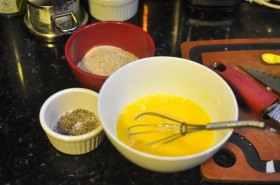
- Measure out the nutmeg, salt and pepper in to one bowl. Measure out the breadcrumbs into a second bowl. Beat the egg into a third bowl. Have all three ready to go when the vegetables finish.
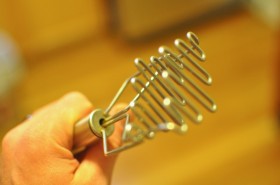
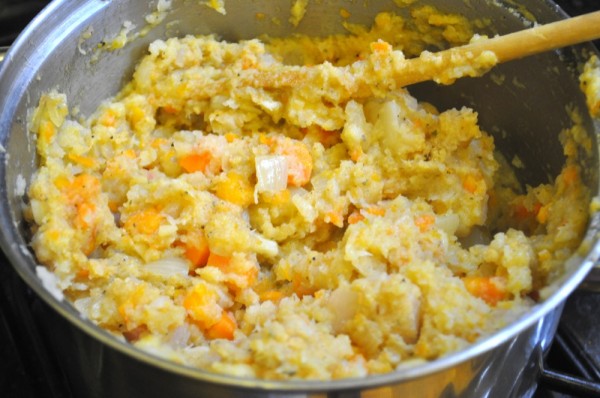
- Once the vegetables are done and thoroughly drained, add the nutmeg, salt, and pepper to the pot. Mash! My trusty masher tool makes pretty quick work of it all. The carrots will probably not fully mash and incorporate but everything else will, which makes for a nice textural difference. Also, don’t over mash. You’re not making whipped potatoes; accept the lumps. If you push the boundary you might wind up with something more resembling paste.
- Add the onion, eggs, and breadcrumbs and mix until gently fully incorporated and even. (See how much more yellow it is now?)
- Grease a casserole dish or something similar (whatever you prefer – butter, canola oil spray, etc.) Fill the casserole dish with the mixture. Once the oven is at temperature (if it’s not already, put it in, uncovered, and bake for 35 minutes.
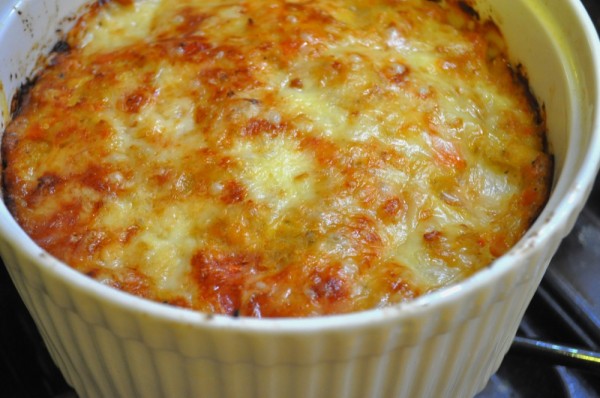
- After 35 minutes, remove the dish, sprinkle on the grated cheese, and put it back in the oven for 5-10 minutes, until it’s the way you like it.
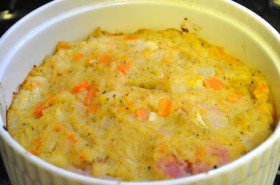
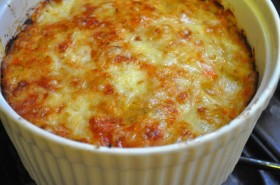
The photo on the left shows the dish after the 35 minutes (notice the nice dark crusting around the edges – a sign you’re almost done. The one one the right is done, after cheese +10 minutes.
Enjoy!

I made this today and it’s one of the best dishes I’ve ate.well done
I am wondering if I can include cheese inside the recipe and not just on top?
You can, but it’s pretty rich already.