This is part two of our three-part “Do-it-Yourself” (“D-I-Y”) series on breakfast:
- Part 1 is how to make your own yogurt
- Part 3 will be how to make your own cold-brew coffee.
- This post is on how to make your own Granola
I’ve always been keen on breakfast. I love cereal. I used to eat a bowl of Kashi’s Autumn Wheat cereal every morning. It is a relatively healthy option as far as packaged cereals go, but it’s still processed and it still has some added sugar. I’d also go through about $15 worth of it every week (and that’s just me, not including Lindsay). In the end, we decided to try making our own granola so that we could control what goes into it and use only a small amount of all natural sweeteners, like maple pure syrup. As with the yogurt, we did this at the risk of feeling like full-on hippies.
After playing around with a few granola recipes, this is the variation we settled on. It’s quick to make. This recipe makes a volume that lasts us (two people) about two weeks. And because it uses ingredients from the bulk section of the grocery store, it’s really inexpensive. This recipe cost us around $10 – $12, and that is using the best quality maple syrup from the Union Square Greenmarket. Even so, that’s about four times more economical than my Kashi. Combined with our savings on morning dairy (from at least $12/week worth of milk to $4/week to make yogurt) and morning coffee ($25/week to $6/week), and things start to add up. More importantly, we start our mornings healthier.
It’s an easy recipe, and as I said, we only need to make it every 2-4 weeks.
Preamble: Buying from the bulk section
The low cost of this recipe relies on buying most of the ingredients in the bulk section of your grocery store. Many stores today offer a bulk section for things like grains, nuts, seeds, and dried fruits. The bulk section allows the store to minimize packaging and transportation, so when you can’t get an ingredient locally, it is an excellent option for staying in the spirit of local eating.
All bulk sections rely on the consumer to measure out the amount each item, to bag it yourself, and to label it in some way so that the cashier can figure out what to charge you at checkout. Here is what the process entails, in case you’ve never tried it:
- Grab a plastic bag (there will be a roll of them nearby), or better yet, bring your own re-usable bags. Keep in mind that you will need one for each separate bulk item since each needs to be weighed separately.
- Either scoop the desired amount out of the bin, or if it is a vertical bin, hold the bag up to the mouth of the bin and pull the lever. With vertical bins it is more difficult to control the amount that you get, so be careful. There is usually a scale available in the bulk section so that you can double-heck how much you measured out. When I over-do it with the vertical bins (like last week when the walnut bin was jammed and then dispersed three pounds of walnuts), I try to hunt down an employee to take the excess so that it will be put back into the machine and not thrown away simply because they don’t know where it’s been.
- Now you need to identify what you bought so that the cashier can check you out later. In Whole Foods and other larger stores, the scale in the bulk section will have a digital readout that asks you to key-in the product code or SKU. The SKU can be found on the container. Place your bag on the scale, key-in the SKU, and press enter. It will calculate the weight and total cost and print out a label that includes a bar code. Stores that lack such a fancy setup often provide special twist ties and pens so that you can write the SKU on the twist tie. When you check out the clerk will weigh the bag and calculate the cost.
Hardware:
- 1 Large Mixing Bowl
- 1 Large Rimmed Sheet Pan / Jelly Roll Pan
- 1 Cooling Rack
- 1 Storage Container
Ingredients:
- 6 cups Rolled Oats (raw, not instant)
- 1 cup Sunflower Seeds
- 1 cup Walnuts, chopped into manageable pieces
- 1 teaspoon Ground Cinnamon
- 1 dash of Salt
- 1/2 cup of pure Maple Syrup, Grade A or B Amber
- 1/2 cup of Tart Dried Cherries (not sweetened)
- 1/2 cup of Golden Raisins
Directions:
- Adjust your oven racks so that there is a rack in the middle of the oven. Pre-heat the oven to 350 degrees.
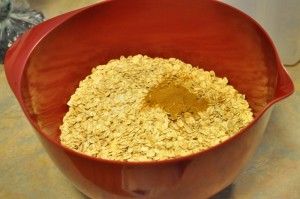
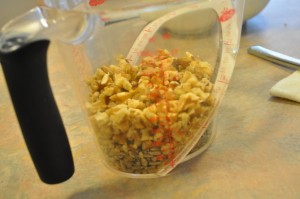
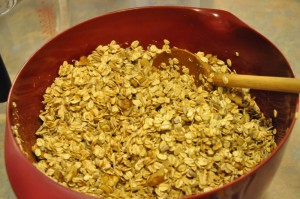
- Combine the Oats, Cinnamon, and Salt in a large mixing bowl. Measure out the nuts and seeds and add them to the bowl. We like to use 1 cup of sunflower seeds and 1 cup of chopped walnuts, but you can use any nuts and any seeds in any combination that adds to 2 cups.
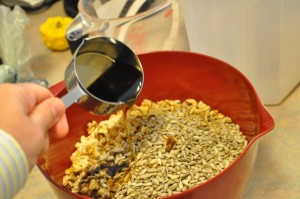
- Add the maple syrup, and mix all the ingredients well. Make sure the syrup and cinnamon get evenly distributed. Be sure to use only “real” maple syrup (i.e., not Aunt Jemima). We prefer Grade B Amber, which is darker than Grade A, but harder to find.
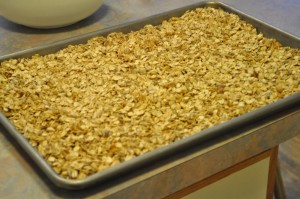
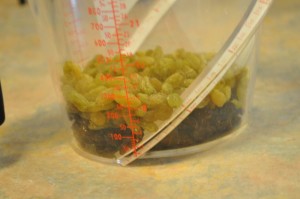
- Spread the mixture in an even layer onto a larger, rimmed pan, such as a jelly roll pan. Place the pan on the rack in the middle of the oven. Bake at 350 for 15 minutes. During the first 15 minutes of baking, measure out the dried fruit. Again, we like to use 1/2 cup golden raisins and 1/2 cup dried tart cherries, but you can use 1 cup total of any dried fruit(s).
I like to wait until this point to measure out the dried fruit. On occasion I have measured it up-front and then zoned out and added it to the mixing bowl in step 1. The result: the raisins and cherries become burnt little pebbles. Not a great recipe for granola. So now I wait to measure them out until it’s already in the oven.
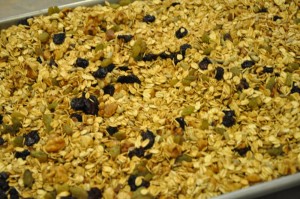
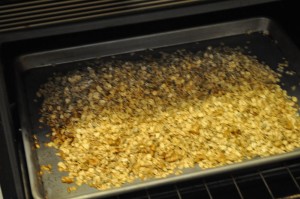
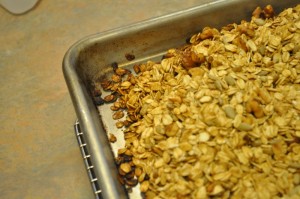
- After 15 minutes, use a wooden spoon to push the edges of the granola into the center of the pan, so that there is a one-inch “moat” around the edges. Then use the spoon to mix the mound that you now have in the center of the pan, and then push the mix back out to the edges of the pan. Bake for another 10-15 minutes. If the granola is a golden brown at this point (without too much burning around the edges – see below), it is done. If the oats in the middle of the pan are still pale and “raw” looking, repeat the re-mixing process” and bake for another 5 minutes. Repeat every 5 minutes until it is done, but be sure to watch it carefully and be vigilant with re-mixing because the edges burn easily after 25 minutes.
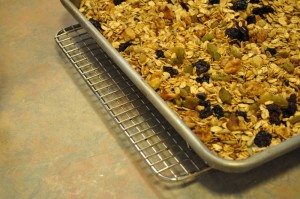
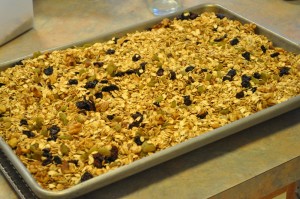
- Remove the pan from the oven and place it on a cooling rack. Add the dried fruit and mix the pan up to distribute the fruit evenly. Because the pan and the granola are still hot, it will cook the dried fruit slightly and mesh the flavors, as long as you mix it in well.
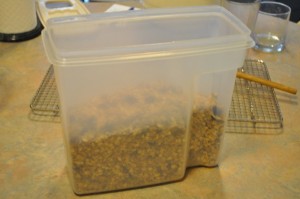
- Once it has thoroughly cooled, transfer the granola to a cereal container to store. This can be a tricky process, so it helps to have two people.
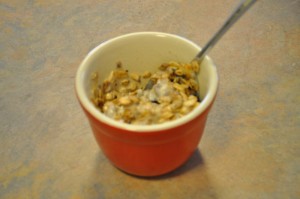
I find the combination of our homemade granola and homemade yogurt to be particularly satisfying. I used to have my big bowl of cereal in the morning and I would be hungry again by 10:30 or 11AM. Now, I have 3-4 heaping table spoons of our granola mixed with 1 heaping tablespoon of our yogurt, and believe it or not I am good to go until noon, without any creeping hunger. I don’t know why such a small portion of this stuff goes such a long way, but it does. The serving looks tiny, but give it a shot, eat it slowly, and see how you like it!

[...] Part 2 is how to make your own granola. [...]
[...] (Disclaimer: we live in a small apartment in New York City. We are not hippies. But did we mention that we also make our own granola?) [...]
[...] to split two dozen muffins or a whole coffee cake with Erik over the next two days. Yogurt and granola parfait with strawberries? I just couldn’t decide. So then I forgot all about it… [...]