We already covered the how-to’s of roasting vegetables in our techniques section. Since it’s such an easy meal, I made a winter version last week while Lindsay was away. We had some vegetables that we had neglected and needed to use up. I took some pictures to document some of the atypical winter ingredients and cover a few helpful tips.
Ingredients
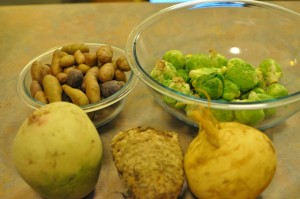
- Roasting potato mix (back left)
- Brussels sprouts (back right)
- Watermelon radish (front left)
- Celeriac / celery root (front and center)
- Golden turnip (front right)
Instead of reviewing the steps again, I want to focus instead on a few highlights:
Amount of Vegetables and Notes on Double-Roasting
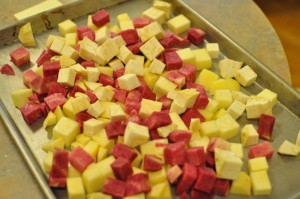
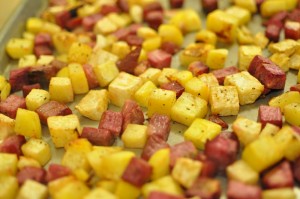
The root vegetables alone filled the first roasting pan (left = before, right = after…mmm).
Lesson 1: this is way too many vegetables for a single roasting. I had a feeling that this would be the case, but took the plunge anyway. In the end I made two separate batches in two separate roasting pans, root vegetables first and then Brussels sprouts and potatoes.
In the past I have made the mistake of trying to perform a simultaneous double-roast, but I find it to be problematic. Because of the heat coming from the bottom of the pan above, the vegetables in the bottom pan tend to burn. I’m sure it’s possible to pull it off if you keep a close eye on the situation and swap the pans at some point, but that’s too much baby sitting for me. It was easier to just cook them in two phases, and I wouldn’t risk ruining them.
How to Deal with Aging and Sad Brussels Sprouts
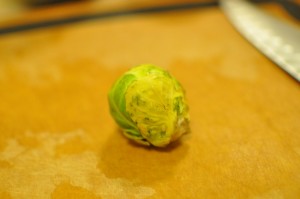
These were probably the last robust Brussels sprouts of the season. These were beautiful when we bought them, but took to long to cook them. The good news about Brussels sprouts is that they can easily be revived. Wilting and yellowed storage sprouts may be available for a few more weeks, so this tip might come in handy.
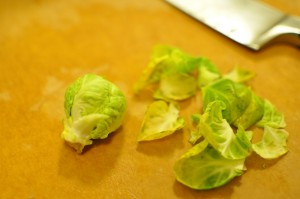
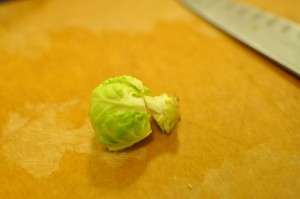
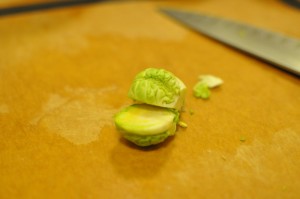
Brussels sprouts tend to age layer by layer, so just keep peeling until you get to a healthy looking specimen. With some sprouts it will be only or two layers. With others (such as this one), it’s a bit more wasteful, but it’s better than tossing the whole sprout! Don’t forget to chop of the “stem” at the bottom.
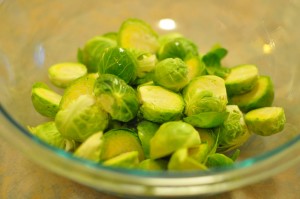
In the end, a sad sack of Brussels sprouts was turned around into a beautiful bunch:
How to Peel a Watermelon Radish
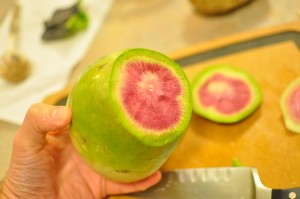
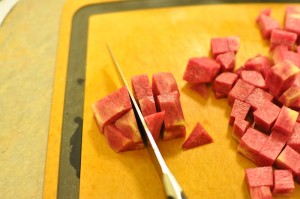
Who can resist buying something that looks this cool? Luckily, it tastes as good as it looks. It has a slight flavor of horseradish, with none of the fire you would normally associate with horseradish. It crisps up nicely when roasted and makes a great teammate with celeriac.
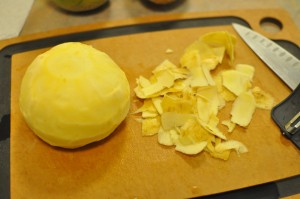
However, as you can tell from the photo above, it has a thick skin. I made quick work of the turnip (below) with a normal peeler, but that just won’t cut it with the watermelon radish.
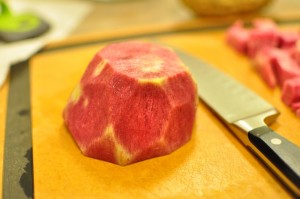
For the radish I used what I call the “pineapple method.” You need a good, sharp chef’s knife. First, remove the top and bottom so that you have a stable piece of vegetable that is nor rolling around as you work with it. Then, cut at small angles until you cut away all of the tough outer skin and all you have left is the bright red flesh. You will need to flip it upside down at some point and you will have to make a few passes to get it all.
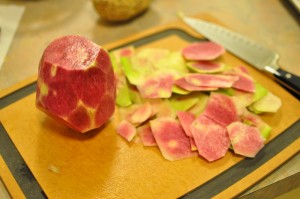
It looks like raw tuna, doesn’t it?
Knife Skills: Quick Cubing (or Dicing)
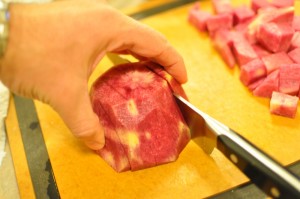
I realize that when I say a recipe is “quick and easy” that it’s a relative term. I can make pretty quick work of any cubing or dicing that has to be done. I took some pictures of my technique. Two important caveats: 1. this probably isn’t the precise technique that you would learn in a “knife skills” course. 2. Be careful!
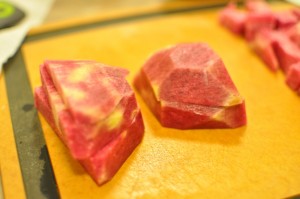
- Cut the item in half. Always have an even, wide, flat surface on the bottom as the base of your cutting. The stability will allow you to work faster with less risk.
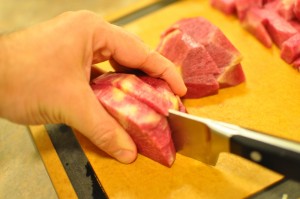
- Cut the piece into strips of the desired size, but do so while holding the outside edges to make sure that the pieces stay together in their original shape. Be very careful. If a piece is sticking to the knife as you pull the knife out, apply gentle pressure to keep the piece in place. Your goal is to maintain the pieces as a solid block.
- Separate the “strips” into two roughly equal groups and stack each on its widest edge. Again, this is for stability in the name of speed and safety.
- Repeat step #2 with each of these two stacks.
- Now you can just turn each stack sideways and make the final cross-cuts into cubes. Because you kept the overall shape intact the whole time, this is easier and faster that randomly chasing pieces around the cutting board.
I hope these miscellaneous tips, tricks, and techniques help!

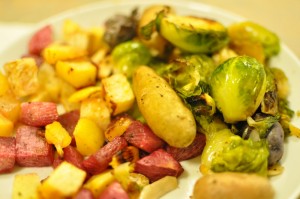
[...] Roasted Vegetables – Winter Version and Misc. Techniques [...]