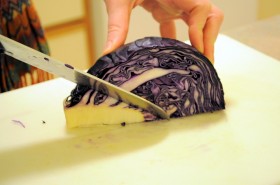
We have complained about / celebrated our CSA many times on this blog. I hate / love it. I LOVE the actual farm. The produce is almost always top notch, the eggs are amazing, and it’s fun to support people living their dream. However, when our refrigerator overflows with turnips or zucchini, I want to bail and just get take out. Half of me gets irritated at the other half that wants to throw out the last radish; but that other half gets annoyed with the first half for being unreasonably anti-waste. Then Erik intervenes in my internal monologue and stops the crazy.
This time of year, we are overflowing with cabbage. (Lindsay #1) It keeps forever, so let’s go out to dinner. (Lindsay #2) Why waste money on a restaurant when we have all this food at home? (1) + (2) = (3) Sauerkraut.
Sauerkraut uses up a ton of cabbage, while allowing us to eat something other than pale green leaves for a week. Homemade sauerkraut is different than the typical store-bought stuff – crunchier and more flavorful. We’ll post a couple sauerkraut-centric recipes in the upcoming weeks, but I’m not shy about eating it straight from the jar.
In addition to being tasty, sauerkraut is super fun to make. It makes me feel very “Laura Ingalls Wilder”, y’know – Little House on the Prairie? I don’t remember ever reading that she made sauerkraut, but smashing salt into sliced cabbage with your hands has a homestead-y, making-do-with-what-we-have feel to it. May I suggest making sauerkraut on a Friday night after a hard week at work? Cheap therapy.
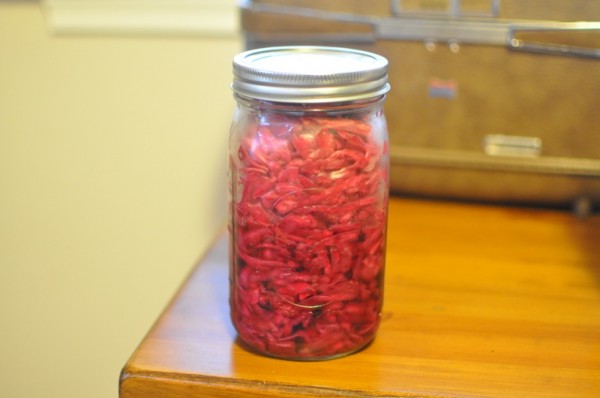
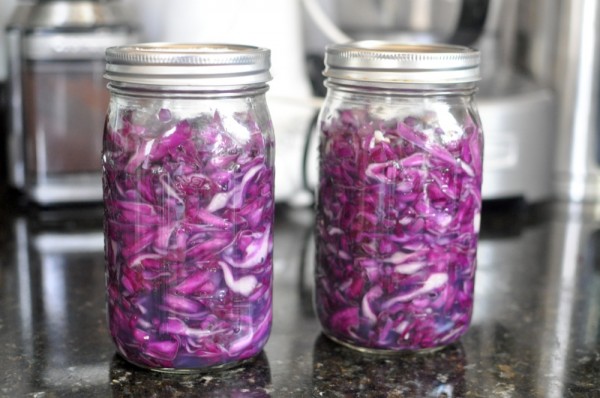
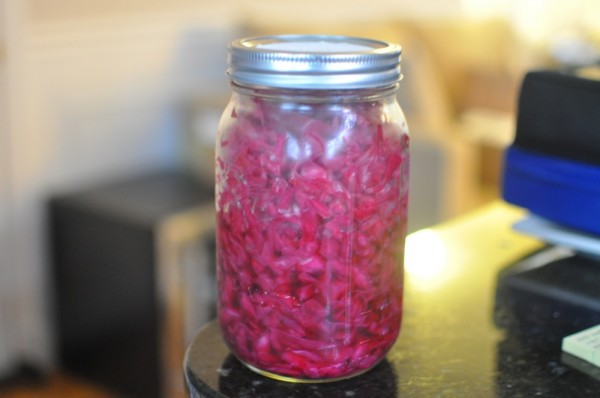
Plus – look at that color! Red cabbage makes the prettiest sauerkraut. It starts out so vividly purple, but then fades to a beautiful magenta. Much better than the regular raw stuff!
Sometimes I water-bath process it, so that I can keep it in the basement and free up space in the refrigerator. But if I’m just doing a single head, I don’t bother. Apparently, this is the healthier way. According to Real Food Fermentation, fermentation, as opposed to canning, preserves and sometimes creates nutrients in food, such as B vitamins, and provides healthy bacteria that we need for digestion and immunity. The high heat required for canning can destroy these benefits. Plus, it’s easier!
The process is pretty simple, but make sure to work with clean hands, clean tools, and clean food.
Ingredients
- Cabbage – any kind
- Pickling salt – This doesn’t contain iodine, which can darken food.
Tools
- Sharp knife, mandolin, V-slicer, or food processor with slicing blade
- Food scale
- Calculator – nothing fancy; the one on your cell phone will do.
- Bowl for mixing
- Glass or ceramic container for fermenting
Technique
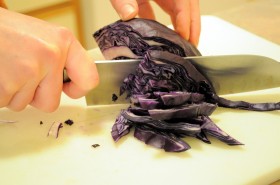
- Remove the outer leaves from the cabbage as well as any damaged internal leaves. Cut the head into quarters from the North to South Pole. Remove the core. Slice the cabbage thinly with a knife, mandolin, V-slicer, or slicing blade on a food processor.
- Weigh the sliced cabbage and get out your calculator to figure out how much salt you need. Fermentation requires 2.5% of the cabbage’s weight in salt.
For example, the last time I did this, I used one gigantic head of red cabbage – 1,600 grams after prepping – and 40 grams of salt. 1,600 grams x 0.025 = 40 grams. I think it’s easier to do this in grams, rather than pounds, because the amount of salt can be too small for an accurate reading in ounces. If you can’t measure in grams, you can use about 1 3/4 teaspoons of salt per pound of cabbage.
- Using clean hands, layer the cabbage and salt in the mixing bowl. You can do this in batches, if necessary, just make sure to use even amounts of cabbage and salt each time. Now, for the fun part, massage/squeeze/press the salt into the cabbage until you release some cabbage juice. The cabbage will eventually stop feeling fresh and crispy and start feeling kind of rubbery. The amount of time will depend on the freshness of the cabbage and the strength of your hands, so be prepared to work it for up to 10 minutes – put on some music or enlist a kitchen buddy for entertainment.
- Pack the mixture tightly into the container you’ve chosen for fermenting, so that the liquid you’ve massaged out covers or almost covers the cabbage. I like to use quart jars, if I’m doing 4 pounds or less (about 2 jars), or a crock like this for larger batches. Whichever you use, make sure to leave some room at the top for expansion – an inch or so.
- You have a couple of options for lids. Essentially, you want to prevent air from getting to your food. One good option is to fill an appropriately-sized zip-top bag with water and nestle it into the container on top of the cabbage/liquid, so that it fills the entire opening. Another option is to just screw on the lid of the jar, if you’re using one.
- Hide the sauerkraut away in a cool, dark location. I’ve had good luck in a corner of my kitchen when the weather isn’t to hot. Check on it every couple of days. After a while, you’ll notice more liquid is released, so make sure to push the sauerkraut under this liquid. This will help keep the spoilers out. If you’re using a crock, you might try weighing down the sauerkraut with a plate. If you’re using a jar, sometimes a smaller jar will fit right in and keep things under control. After a few days, it will start to get bubbly. This means it’s working! It’s done whenever you like it, so grab a (clean) fork and give it a taste. I usually let mine go for a couple of weeks, but it’s really up to you. When it’s done, pop it in the refrigerator to drastically slow the fermentation. It will keep almost indefinitely as long as the solids are kept under the liquid. During the whole process, watch out for mold, which means the bad microbes hijacked your food and ruined it. If you work clean, you should be able to avoid this.
If you’re interested in other fermented foods, such as yogurt, kimchi, or vinegar, consider picking up Real Food Fermentation

