Dad! Don’t read this post until Sunday!
My dad has many amazing qualities. He can make a game out of anything – including rolled up socks, the packing material from our new blinds, and a big bucket leftover from some construction project. Incidentally, bucket rides also illuminated one of my mom’s best qualities – trusting that her husband wouldn’t put her kids in the hospital and letting us have some crazy fun.
Dad will also support me no matter what – even if it’s listening to me hyperventalate on the phone because I spotted a mouse in my first solo apartment or eating a weird vegetarian meal I cook for him. Oh sure, he’ll eat kale for breakfast to make me feel good, but what does he really want? PopTarts and Diet Pepsi. If you were ever in his car before he retired, you know what I mean. Crumbs and cans galore! Might not be Wheaties, but it’s certainly the breakfast of one of my biggest champions.
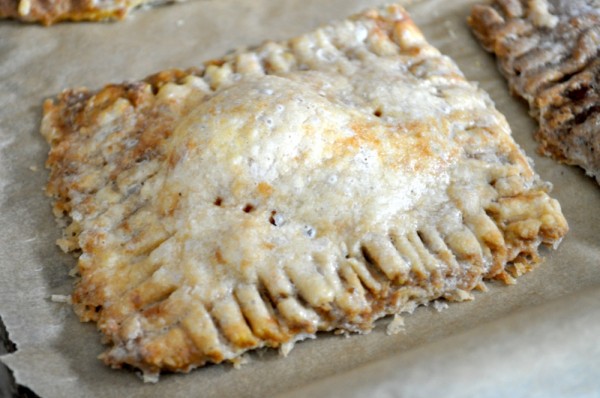
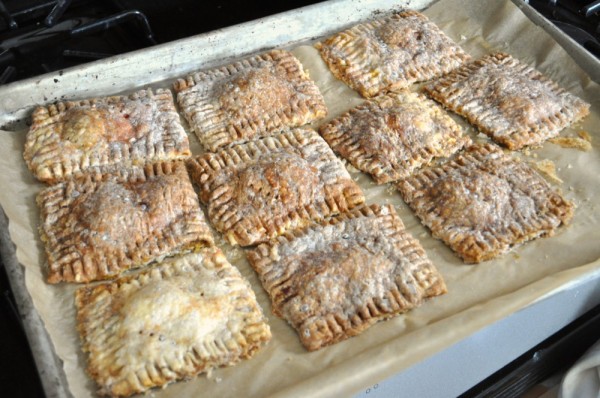
So for Fathers’ Day 2012, I give you bacon and jam toaster tarts. Make them for the dad in your life or for yourself, just cuz it’s Sunday and breakfast should be fun sometimes. I froze these and then sent them overnight. Just take one out of the freezer and pop it in the toaster, Dad. Love you!!
Some quick notes on the recipe…First, the dough is almost exactly the same as my standard pie crust with extra salt and sugar for flavor. I also added a splash of vinegar to the water on the advice of my friend Mike, who says it will lend extra flakiness. Second, this is a great way to use up some of last year’s lingering jams. Nothing on the larder shelves caught my fancy, so I made a quick strawberry rhubarb jam from what I had around. Store-bought jam is just fine, too.
Fathers’ Day Toaster Tarts
Makes 10 tarts
| Amount | Ingredient | Preparation | Where we bought it |
|---|---|---|---|
| 2.5 ounces (5 TBsp) | Ice water | ||
| Generous splash | Vinegar | I used apple cider vinegar. | Homemade |
| 12 ounces | All-purpose flour | Wild Hive Farm | |
| 2 TBsp | Sugar | ||
| 1 1/2 tsp | Kosher salt | ||
| 8 ounces | Very cold, unsalted butter | If you have rendered lard on hand, this is the time to use it. Swap it for up to half the butter. | Shaw Farm (butter); Flying Pigs Farm (lard) |
| 1 cup | Confectioners’ (powdered) sugar | ||
| 1 egg | Red Fire Farm | ||
| 1/4 cup | Filling of choice | Jam, fruit butter, bacon, peanut butter and jelly, etc. | Homemade |
Directions
- Follow these directions to make dough for a double crust pie, adding the vinegar to the ice water and the sugar and salt to the dry ingredients. After you’ve put the dough in the refrigerator, come back to this recipe.
- While the dough is chilling, make the icing by combining the confectioners’ sugar with 2 tablespoons of water. Whisk until smooth.
- Line two baking sheets with parchment paper.
- To roll the dough, you need a decent amount of space. We’re aiming for a rectangle that’s 15 inches on one side and 8 inches on the other, so you’ll need to roll your dough a little bit larger to account for uneven edges. Find your counter, clean it, and lightly flour it. Keep some flour on hand for the rolling process.
- Preheat your oven to 350 degrees.
- Take one of the dough halves out of the refrigerator. Prepare your filling, so that it’s ready to do when the dough is. Beat the egg and have a pastry brush nearby. If you don’t have a pastry brush, you can use your fingers, but it’s slower.
- Now, roll out the dough carefully. This is one of those situations when it really helps to be a bit nuts about neatness. Do your best to keep it in a rectangle twice as long on one side as the other. I use a bench scraper
to push the ragged edges flat and to help me flip the dough around every few rolls, so that it doesn’t stick to the counter. Use that flour when you need it.
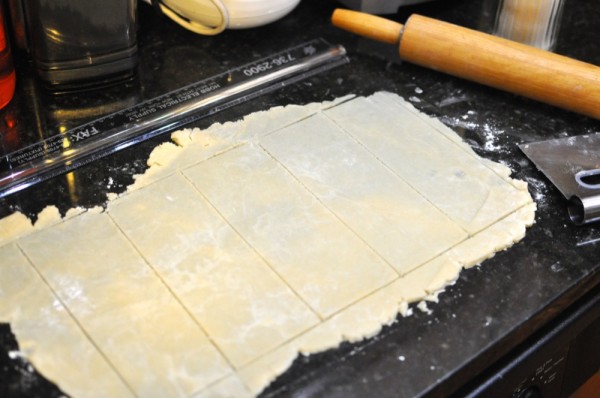
- Once your dough is large enough, use a ruler and a thin knife to measure and cut a 15-inch by 8-inch rectangle. Don’t worry about moving it yet.
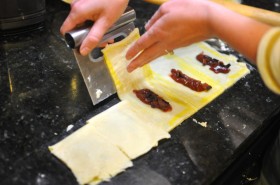
- Along each of the 15-inch sides, make a little mark with the knife every three inches. Use the ruler and the knife to connect the marks, so that you now have five long rectangles (8 inches by 3 inches). Again, don’t move anything.
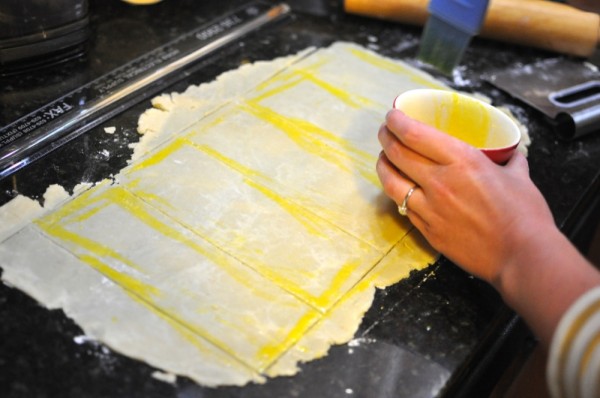
- Using the pastry brush, paint all the edges with egg wash.
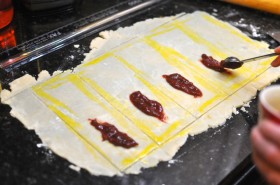
- Place about a teaspoon of filling on one the end of a rectangle. Fold the dough in half to cover the filling and transfer the tart to the prepared baking sheet. Repeat with the remaining four tarts.
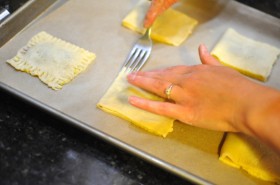
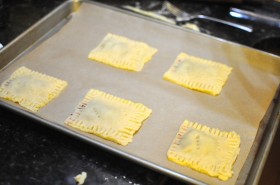
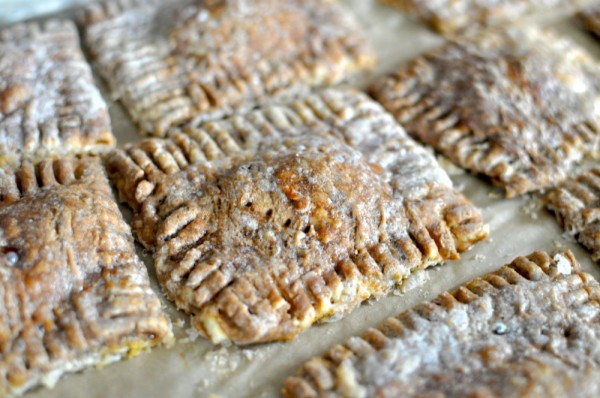
- Seal the edges of each tart with your fingers, then use the tines of a fork to crimp them. Poke a few holes in the top of each tart with the fork.
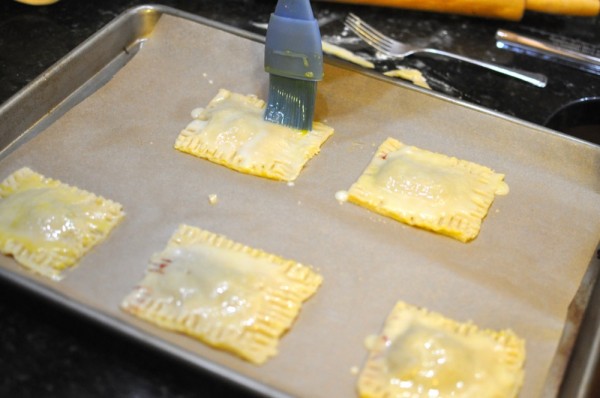
- Brush or drizzle some icing over each tart. Don’t worry about being too neat. You won’t notice once they’re baked.
- Bake for 20 to 25 minutes or until lightly brown. Just like the real thing, you will finish these in the toaster. If you want to eat them immediately, bake them for about 10 minutes longer.
- Store in an airtight container in the freezer for up to 3 months.

